
The choice of a digging tool is not made at random. A round shovel in compact clay or an auger in rocky soil is a waste of time and hard on the joints. We recommend starting with three concrete parameters before even touching a handle: the nature of the soil, the target depth, and the acceptable fatigue threshold over the duration of the project.
Soil hardness and tool type: the diagnosis that precedes the first shovel stroke
Sandy or loamy soil can be worked with a classic round shovel, pointed blade, without particular difficulty. The blade penetrates under the weight of the body, and the pace remains steady even over several dozen holes.
You may also like : Discover the best tips for practicing sports daily and staying motivated
As soon as the soil becomes clayey or the ground has never been worked, the shovel alone is no longer sufficient. The pickaxe breaks open compacted soil where the shovel slips. Alternating between pickaxe and shovel (breaking then removing) significantly reduces effort per cycle compared to relentless work with the shovel alone.
For very stony soils, we find that a pry bar becomes the first tool to use. It moves embedded stones that neither the shovel nor the pickaxe can bypass. On such terrain, trying to dig a clean hole without a pry bar means forcing the handle at the risk of breaking it.
Read also : The best alternatives to watch sports streaming for free
Find tips for digging a hole with a shovel that detail the appropriate gestures for each type of soil consistency.
Shovel, spade, auger, or powered tool: selection criteria based on desired depth
The confusion between shovel and spade persists, even though their uses diverge significantly. The spade, with its flat and straight blade, cuts the soil at the surface and turns clods. It excels at preparing a planting up to about thirty centimeters. Beyond that, it reaches its limits: the leverage is insufficient, and the working angle becomes uncomfortable.
The round shovel with a pointed blade remains the reference tool for digging a deep hole, typically between thirty and sixty centimeters. Its concave profile removes soil with each movement, which the spade does not do. For planting holes for trees or fence posts, it is the shovel that does the work, not the spade.
The manual or powered auger operates on a different level. It produces a cylindrical, calibrated hole in loose to moderately firm soil. For posts, it is often the most rational choice: the diameter matches the need, and the depth is easily controlled.
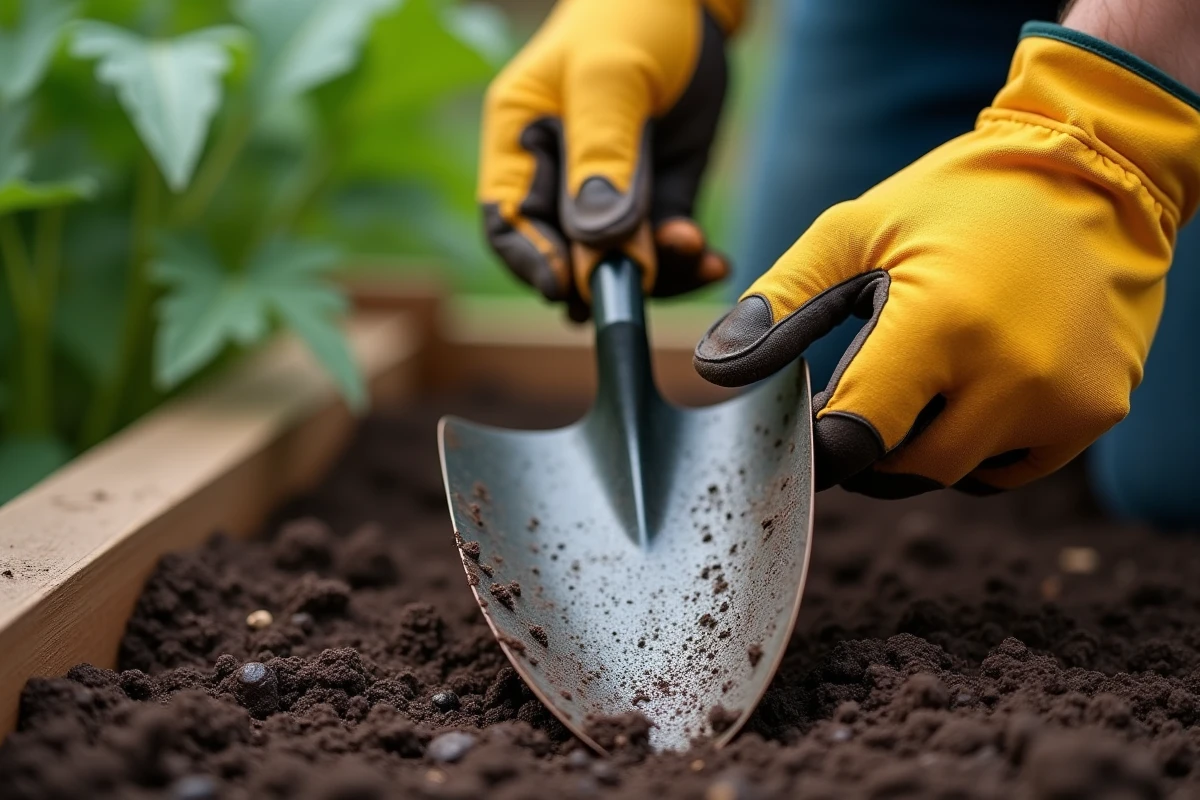
- Loose soil, shallow hole (less than thirty centimeters): flat-bladed spade, sufficient and precise for hedge or perennial plantings.
- Standard soil, medium depth (thirty to sixty centimeters): round shovel with pointed blade, the best compromise between versatility and efficiency for most gardening tasks.
- Firm soil, calibrated holes for posts: manual auger if the soil is free of stones, powered auger if the volume of holes is high or the soil is resistant.
- Very hard or stony soil, great depth: pickaxe and pry bar in addition to the shovel, or renting a mini-excavator if the project justifies it.
Digging technique: gestures and work rhythm to limit fatigue
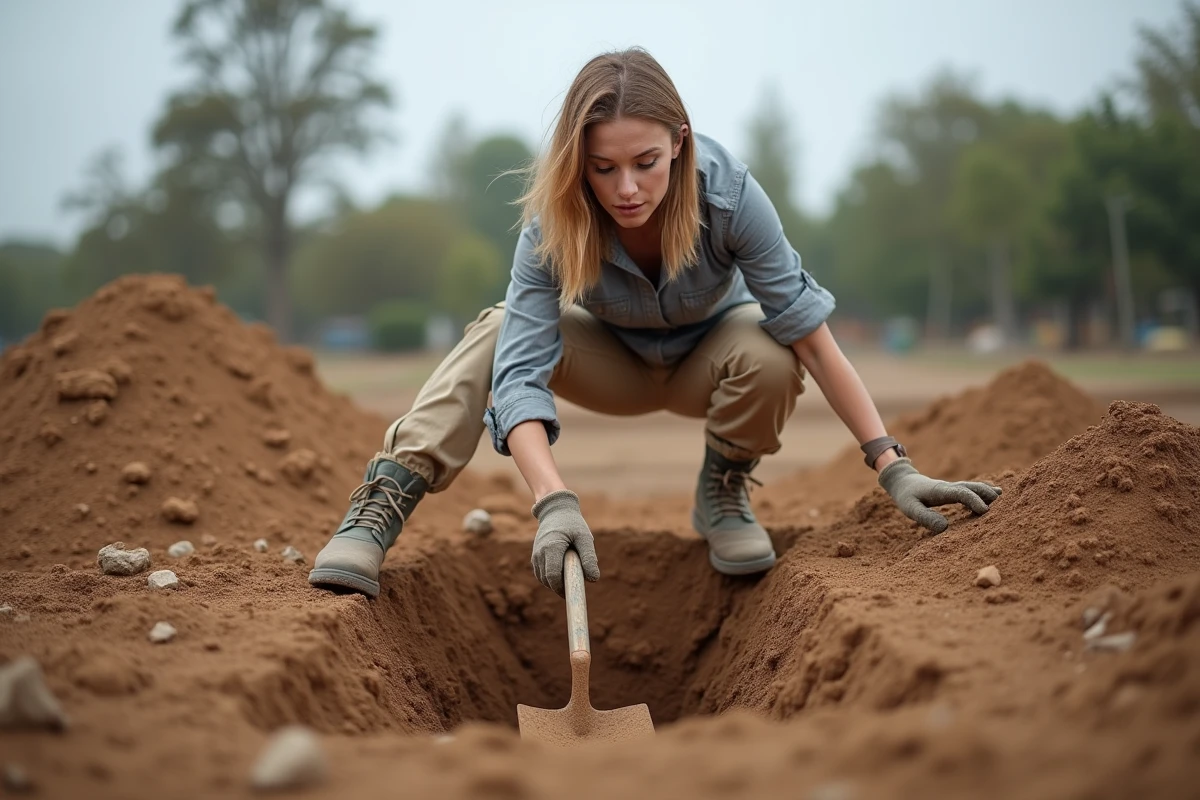
A hole is dug in successive layers, not by trying to push the shovel as deep as possible each time. We recommend removing slices of ten to fifteen centimeters thick. Each layer is removed before moving on to the next. This method keeps the walls clean and prevents the soil from falling back into the bottom.
The foot pressing on the blade should remain close to the handle, not on the outer edge. This position aligns the body’s weight with the penetration axis and avoids straining the lower back. Many lower back pains in gardening come from an off-center support that turns each push into a twist.
The handle is grasped with both hands spaced apart. The lower hand, close to the blade, guides the direction. The upper hand, at the end of the handle, acts as a lever to lift the load. Bringing the hands closer reduces the lever arm and forces compensation through brute strength, which accelerates fatigue.
On a site that requires multiple holes, alternating support sides (right foot then left foot) and taking short breaks every twenty minutes protects the joints. Digging efficiently does not mean digging quickly, but digging regularly without jolts.
Equipment maintenance and common mistakes on the ground
A rusty or dull shovel blade multiplies the effort needed for each push. Cleaning the blade after each use and sharpening the edge with a file once per season is enough to maintain the tool’s performance. A coat of linseed oil on the wooden handle prevents splinters and cracking.
The most common mistake we observe is choosing a handle that is too short. An appropriate handle reaches between the user’s chest and shoulder. If too short, it forces constant bending. If too long, it makes the leverage imprecise and increases torque on the wrists.
- Not watering the soil the day before to facilitate digging in dry terrain: water softens the top few centimeters and reduces the initial resistance of the soil.
- Not checking for buried utilities before digging beyond forty centimeters: a phone call to the public works service or consulting the utility map avoids serious accidents.
- Using an auger in rocky soil: the bits get stuck, the torque on the wrists can cause sprains, and the tool wears out quickly.
The right tool in the right soil, at the right depth: this is the only rule that holds true on all digging sites. Everything else, speed, cleanliness of the hole, fatigue at the end of the day, follows directly from this.